
How to Deploy and Manage a Node.js App on a VPS with PM2
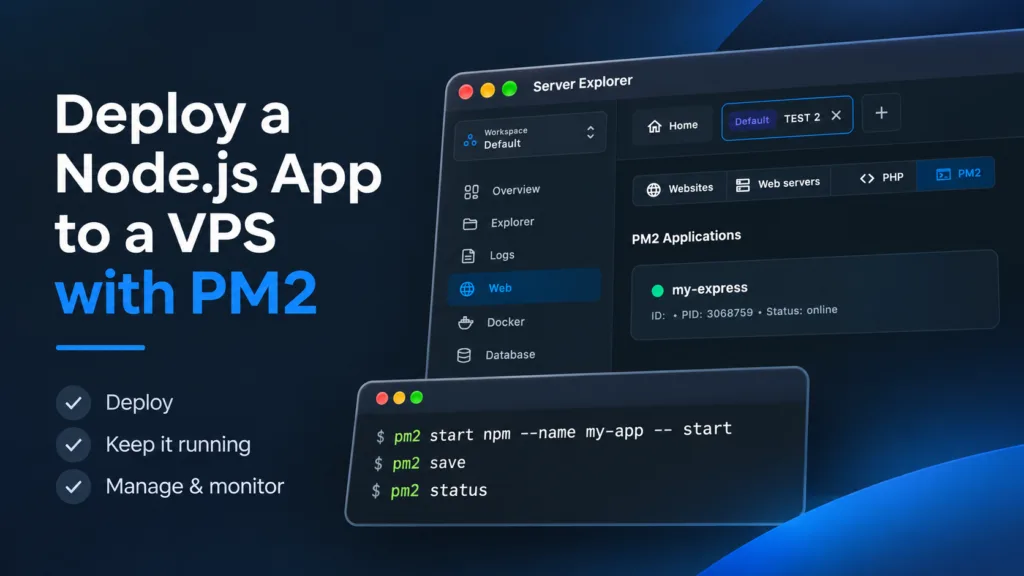
Your Node.js app works on your laptop. Great. But running npm start in a terminal isn’t a reliable production setup: the process can stop when the session closes, and it won’t automatically return after a reboot.
This guide shows how to deploy a Node.js app to a VPS, keep it running with PM2, put Nginx in front of it, and inspect it when something goes wrong.
You’ll need: an Ubuntu VPS with SSH access, a domain pointing to its public IP, and a Node.js application with a working production start command. Commands below assume a non-root user with sudo privileges.
1. Prepare your VPS
Connect over SSH:
ssh youruser@YOUR_SERVER_IPUpdate package metadata and install Git, Nginx, and curl:
sudo apt update
sudo apt install -y git nginx curl
Install a currently supported Node.js LTS release using a trusted installation method appropriate for your OS, then confirm both commands work:
node --version
npm --version
Note: Avoid relying on an old Node.js version bundled with your distribution. Match the runtime version required by your project, and keep it updated.
2. Get your application onto the server
For an application hosted in Git:
mkdir -p ~/apps
cd ~/apps
git clone https://github.com/YOUR_USERNAME/YOUR_REPO.git my-app
cd my-app
npm ci
Replace the example repository URL with your own. npm ci expects a committed package-lock.json; use your project’s appropriate package manager otherwise.
Create production environment variables securely, following your application’s configuration. Do not commit .env files containing secrets to Git.
If your app needs a build step, run it now:
npm run buildSkip this command if your project has no build script.
3. Start the app with PM2
Install PM2 globally:
sudo npm install -g pm2Assuming npm start launches your production server:
cd ~/apps/my-app
pm2 start npm --name "my-app" -- start
pm2 status
Your app should listen on a known local port, for example 3000. Configure it to bind to 127.0.0.1 where supported if Nginx will be the public entry point.
To inspect output or restart it:
pm2 logs my-app
pm2 restart my-app
Important: PM2 runs under the user who started it. Use the same user for subsequent PM2 commands; mixing root and non-root PM2 instances causes confusion.
4. Keep your app running after a reboot
Run:
pm2 startupPM2 will print a command tailored to your user and init system. Copy and execute that exact command, then save the current process list:
pm2 saveAfter a future deployment that changes the PM2 process list, run pm2 save again.
5. Put Nginx in front of Node.js
Create an Nginx site configuration:
sudo nano /etc/nginx/sites-available/my-appAdd this configuration, replacing example.com with your domain:
server {
    listen 80;
    server_name example.com www.example.com;

    location / {
        proxy_pass http://127.0.0.1:3000;
        proxy_http_version 1.1;
        proxy_set_header Host $host;
        proxy_set_header X-Real-IP $remote_addr;
        proxy_set_header X-Forwarded-For $proxy_add_x_forwarded_for;
        proxy_set_header X-Forwarded-Proto $scheme;
    }
}
Enable the site and validate the configuration:
sudo ln -s /etc/nginx/sites-available/my-app /etc/nginx/sites-enabled/my-app
sudo nginx -t
sudo systemctl reload nginx
If another Nginx site already handles your domain, edit or disable that conflicting configuration instead of creating a duplicate. Ensure your firewall permits HTTP and HTTPS while keeping your app’s internal port private.
Once DNS points to the VPS and HTTP works, enable HTTPS with a trusted certificate tool such as Certbot, following its current Nginx instructions. Do not consider the deployment complete until HTTPS works.
6. Check the app when something breaks
Start with these checks:
pm2 status
pm2 logs my-app --lines 100
curl -I http://127.0.0.1:3000
sudo systemctl status nginx
sudo tail -n 100 /var/log/nginx/error.log
When your app keeps restarting, start by checking its logs and environment variables. A successful local curl request paired with an inaccessible domain usually points to an issue with Nginx, DNS, firewall rules, or TLS configuration. A 502 Bad Gateway error, meanwhile, often indicates that the backend is down or listening on a different port.
For more troubleshooting, see our guides on checking Linux server logs.
7. Manage PM2 visually with Server Explorer
You can administer a VPS entirely through SSH commands. But when you manage multiple apps, it helps to see processes and server health in one place.
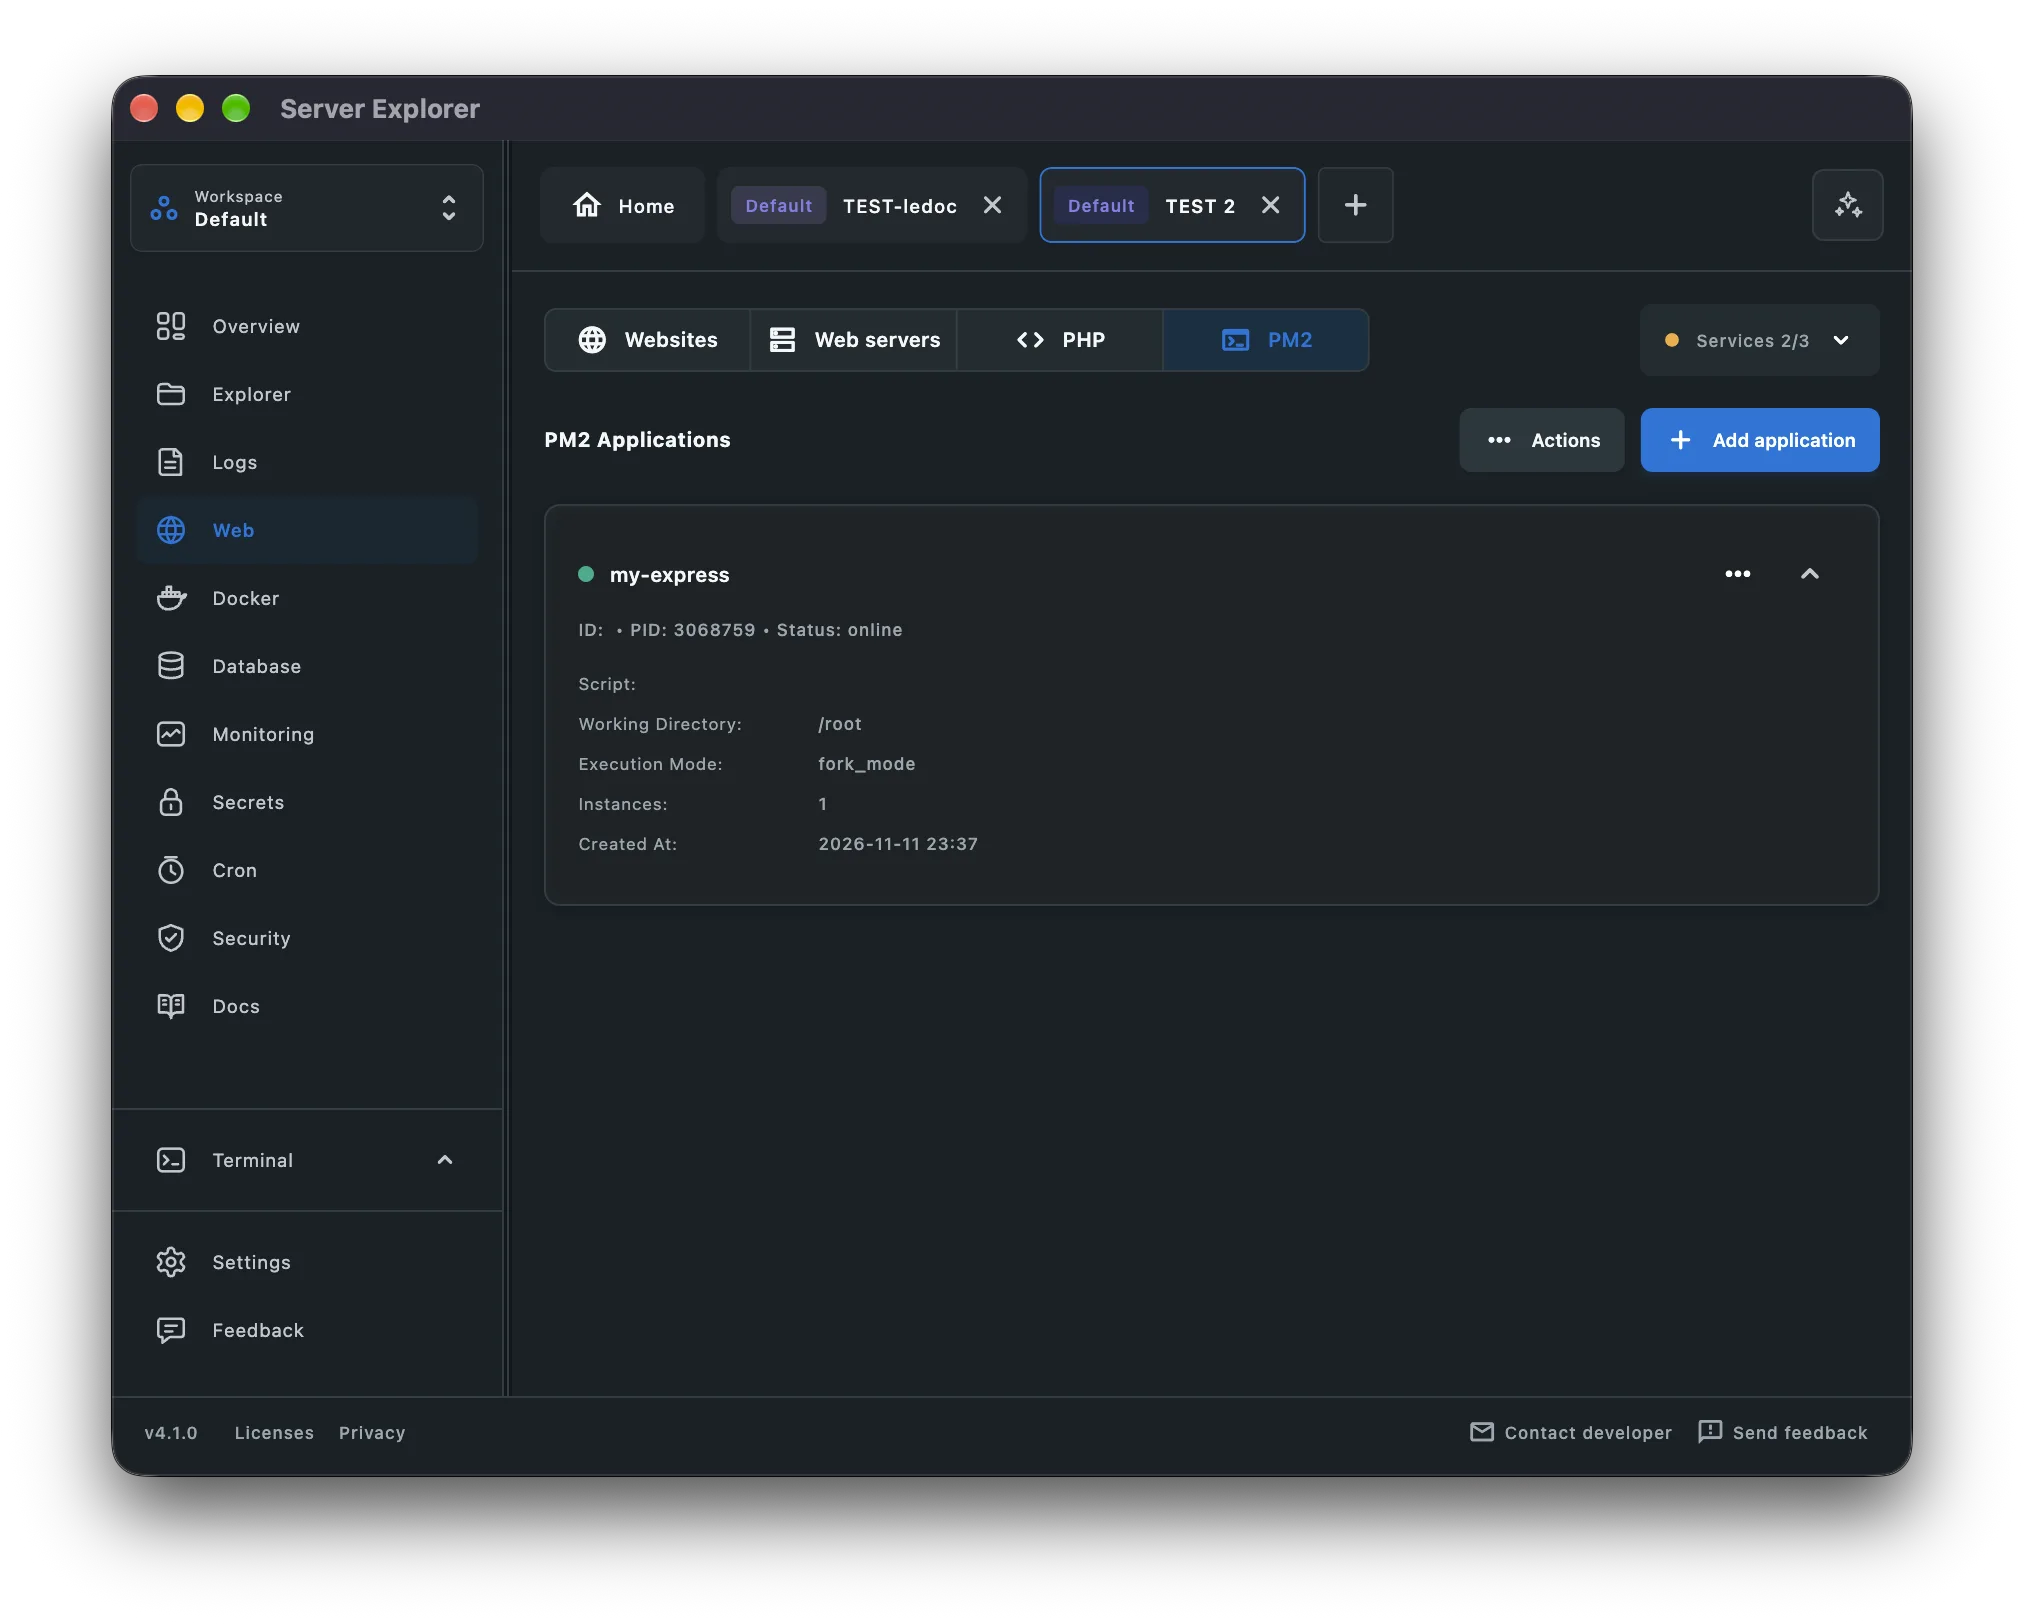
Server Explorer is a desktop SSH client for Windows and macOS. After connecting to your VPS, you can use its PM2 management interface to inspect applications and available actions, alongside server monitoring and an integrated terminal.
Bring your servers into focus.
A desktop app for macOS and Windows. Connect over SSH.
When investigating an issue, use the PM2 view together with the app’s logs or the integrated terminal. This keeps the deployment workflow transparent: PM2 runs your app; Nginx routes traffic; Server Explorer helps you manage the server.
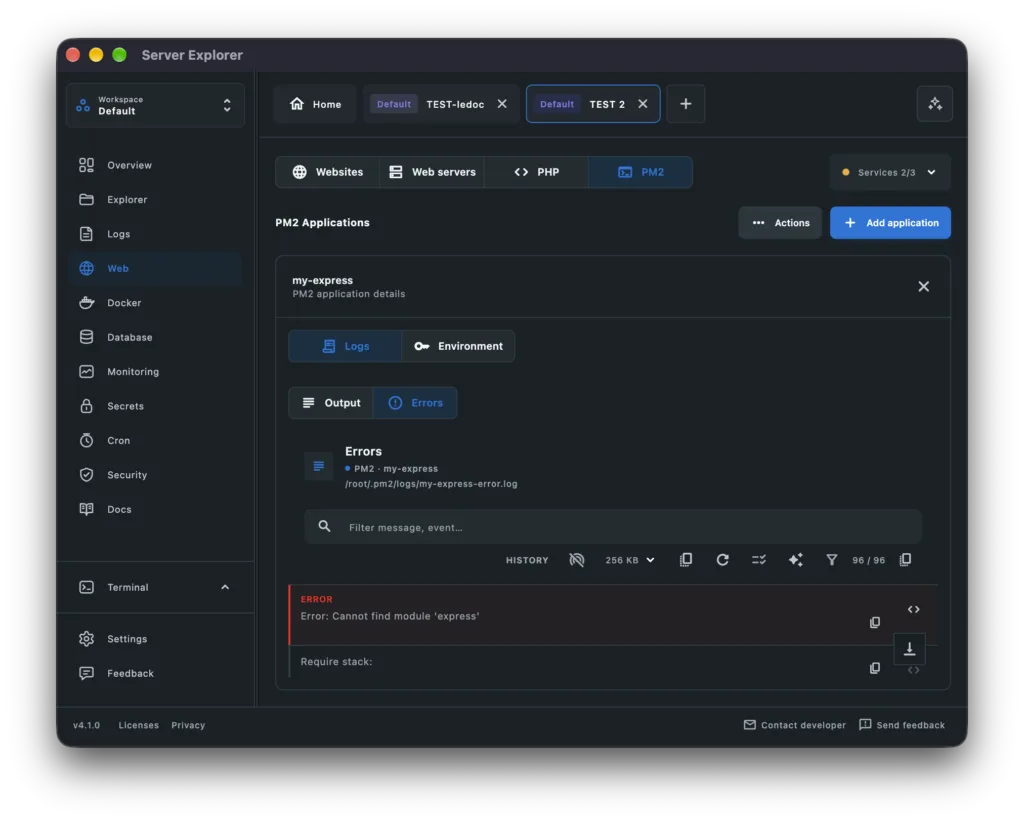
Server Explorer is not presented here as an automatic deployment platform. You still configure your application, PM2, Nginx, DNS, and HTTPS yourself.
Bring your servers into focus.
A desktop app for macOS and Windows. Connect over SSH.
Final checklist
Before sharing your app’s URL, confirm that:
- Your production start command works.
- PM2 reports the app as online.
pm2 startupandpm2 savehave been configured.- Nginx forwards requests to the correct local port.
- HTTPS works for your domain.
- Secrets are not stored in your repository.
- You know where to find application and Nginx logs.
Deploying is only the first step. Keeping the app observable and recoverable is what makes it maintainable.
Want a visual way to manage your VPS after deployment? Explore Server Explorer.
Bring your servers into focus.
A desktop app for macOS and Windows. Connect over SSH.